 Español
 Italiano
 Français
How to change the picture of your Teaming Group
If you still have not defined any picture for your Teaming Group or if you wish to change it after reading our post with tips to choose the right picture, let us guide you step by step.
- Log in to your Teaming profile
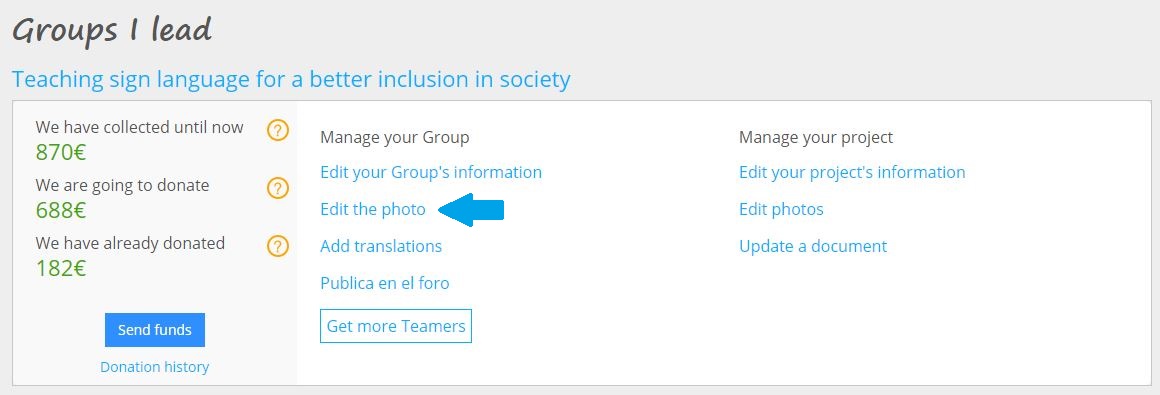
- View the section about the Group you wish to edit
- In this section, click on “Edit the photo”. If you have not defined a picture yet, the text will read Upload a photo. Upon clicking there, you will be redirected to a web help to select a picture.
 Click on “Browse”.
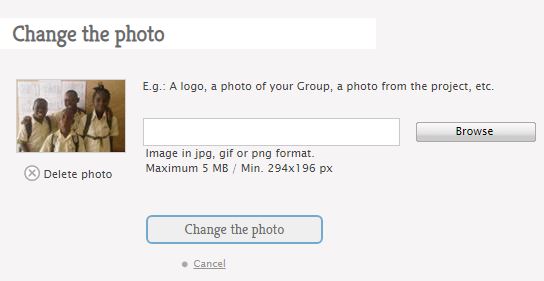 Look for the picture you want to use and click on “Open”.
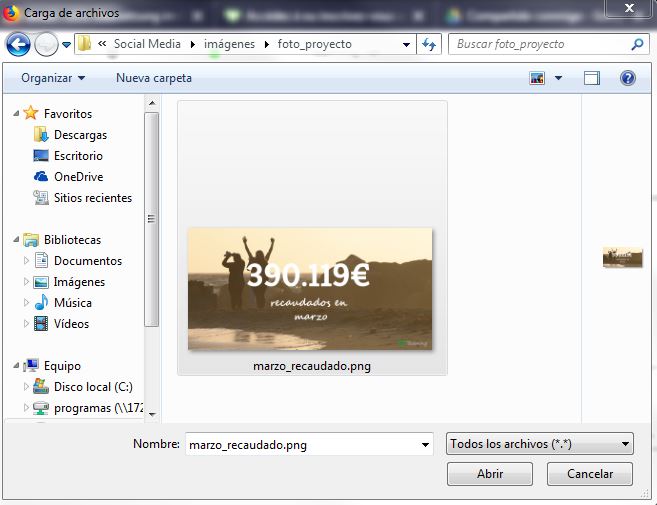 The picture will be loaded and will appear under a path of type: C:\fakepath\photoname
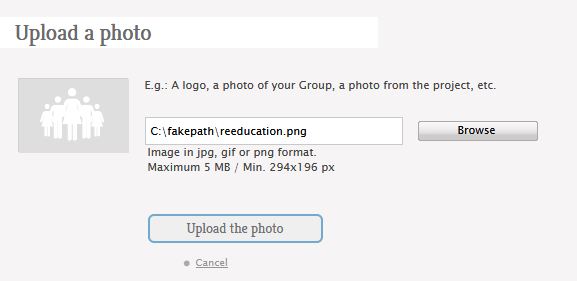 Click on “Upload the photo” if you had no picture beforehand and on “Change the photo” if you had defined one and wish to change it.
- Reframe the photo using the dots and your mouse.
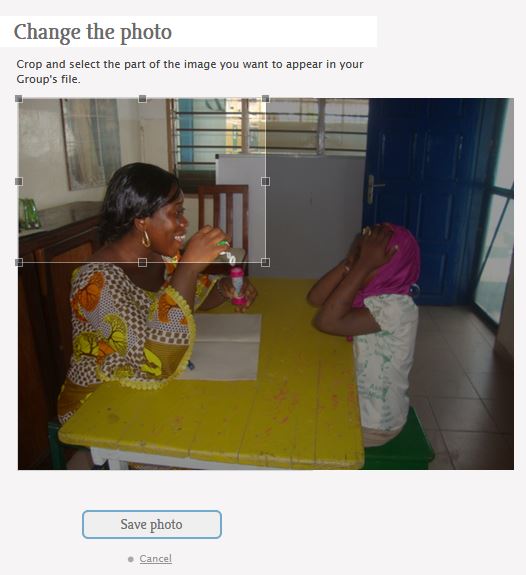 Click on “Save the photo”. You will be redirected to your Group page and be able to view the changes.
You can also access these options from your Group page > Change the photo.

If you have any doubt regarding which type of picture to select, read our tips.